Before you begin
- To connect to the SkyEcho 2, power on SkyEcho 2 and join a device to the wireless network SSID named SKYECHO-XXXX using the procedure for your device. This procedure is identical to joining any other public or private Wi-Fi on your chosen device.
- If you have configured your SkyEcho 2 to use a password, enter the WPA password previously assigned, then tap join. Note: The No Internet Connection message is normal when connected to SkyEcho 2.
- Open any browser on your computer/mobile device that is connected to your SkyEcho 2 via the Wi-Fi link and type 192.168.4.1 in the address bar.
The following landing page should load:
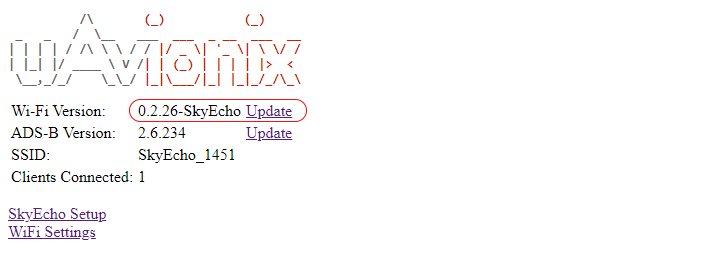
4. Review the installed Wi-Fi Version.
5. If the installed version number is greater than or equal to the current version available (2.38) no update is necessary.
6. If the installed version is lower than the current version (2.38) the update should be performed.
7. Download the latest software for SkyEcho 2
Update the Wi-Fi Firmware
While connected to the SkyEcho Wi-Fi as directed above:
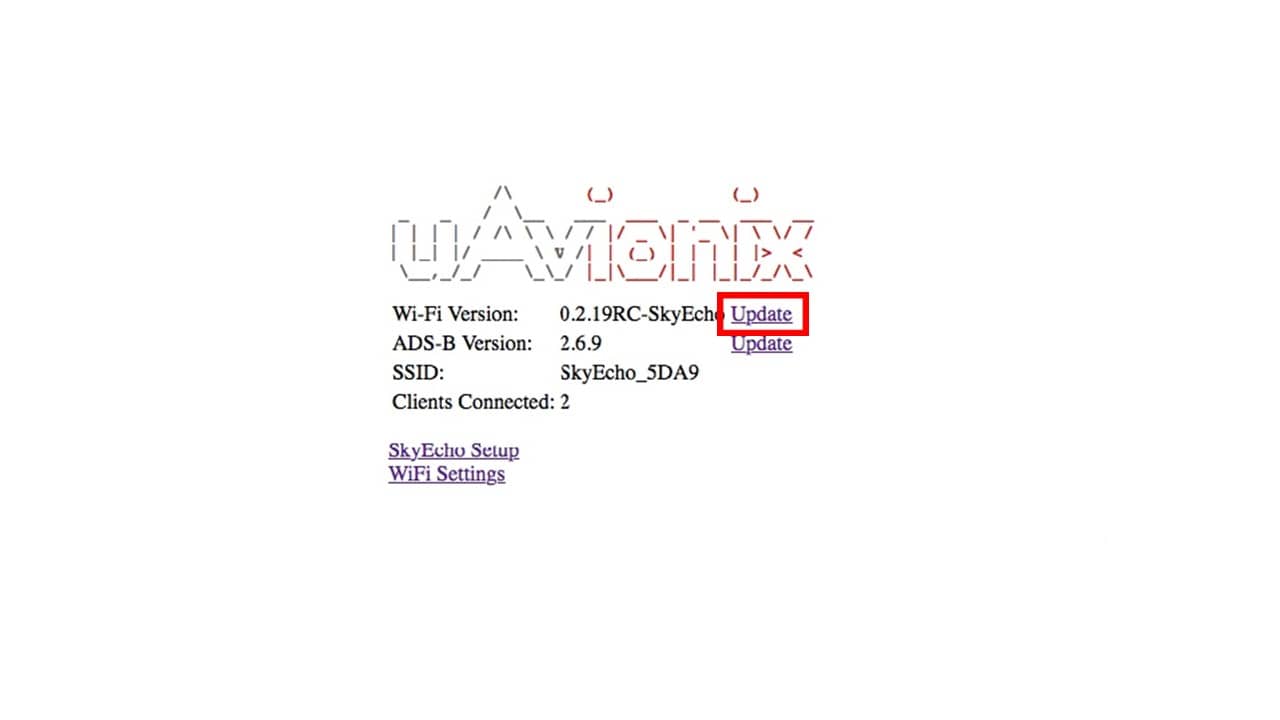
- Open a web browser and navigate to 192.168.4.1
- Click on the “Wi-Fi Version” Update Link:
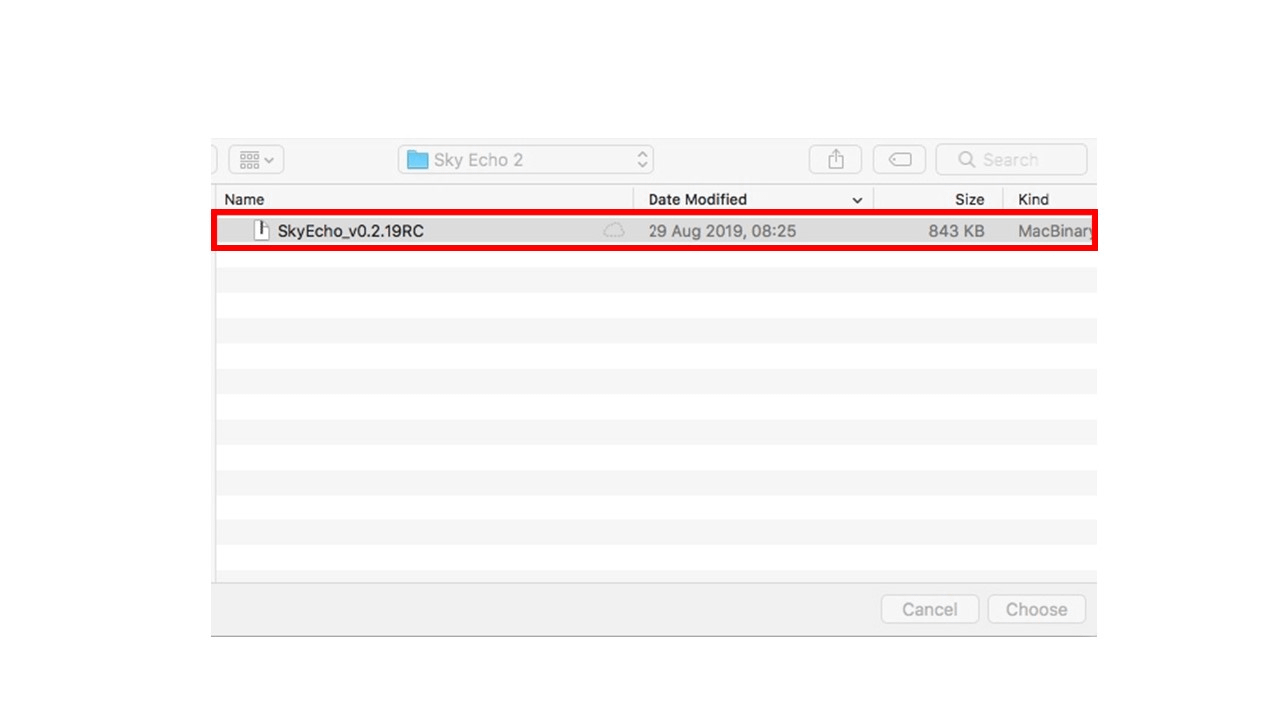
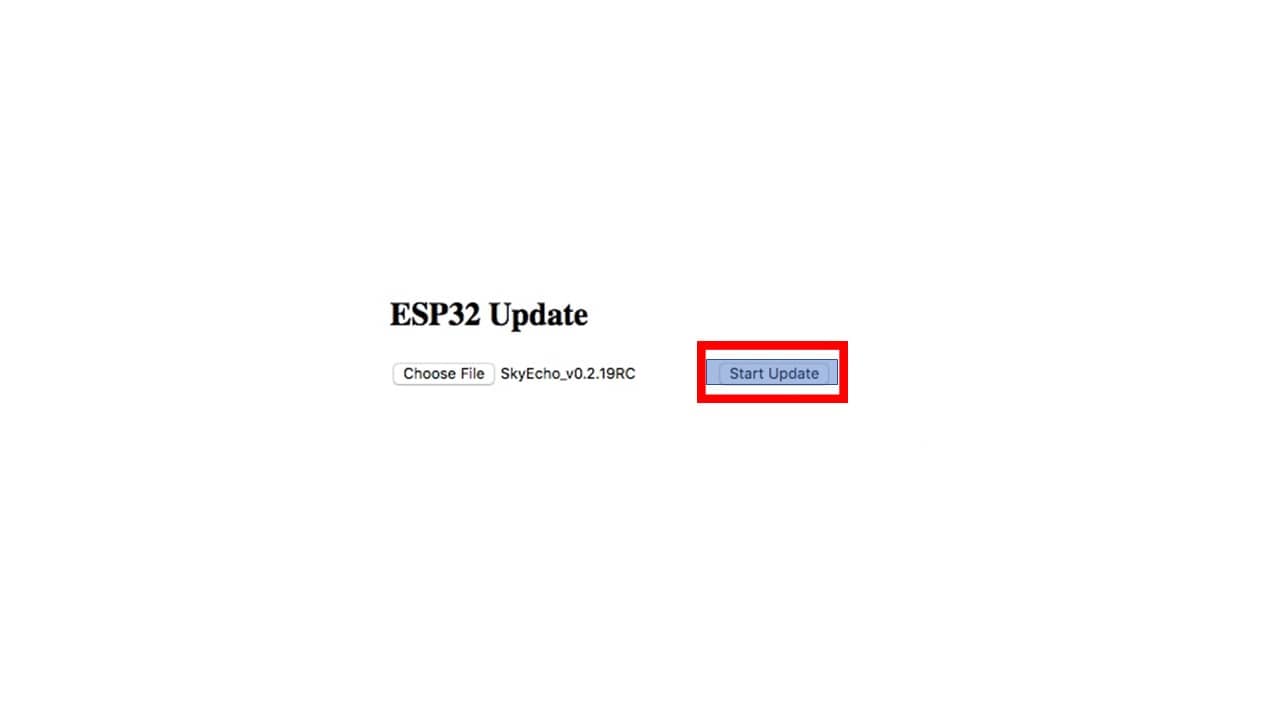
- Select Choose File

- Browse to the previously downloaded file
- Select Open
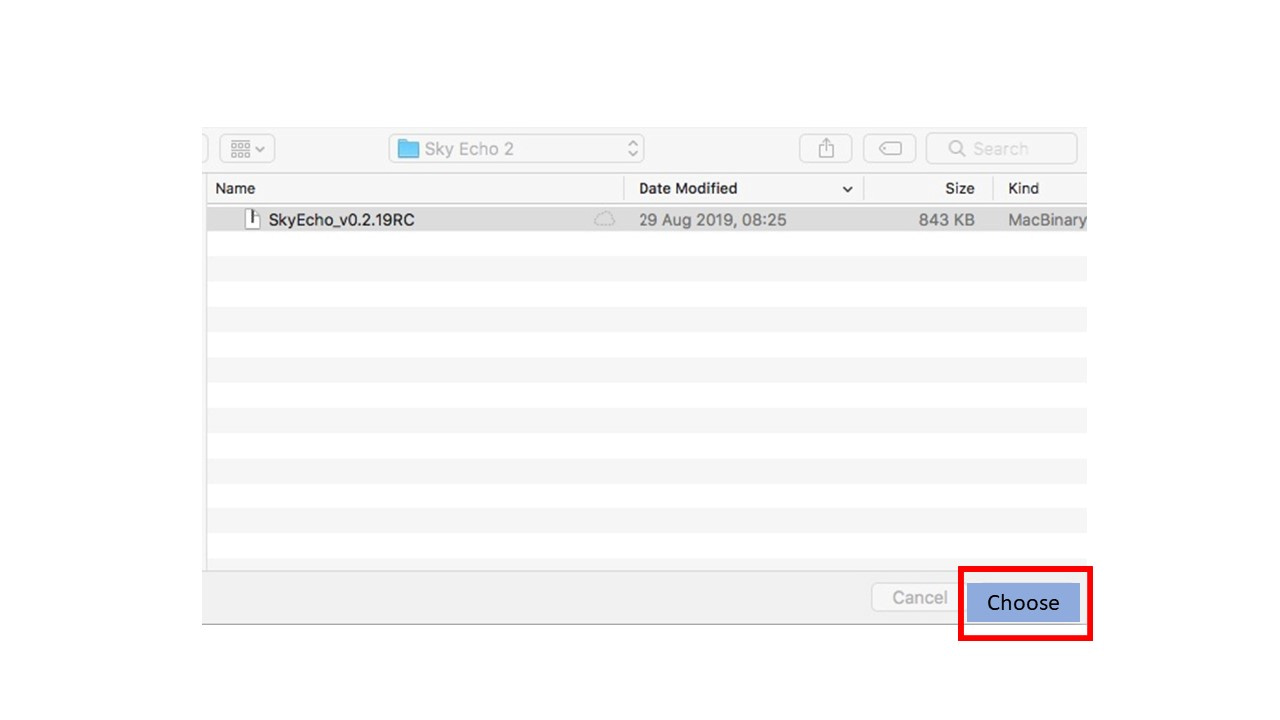
- Select Update
- After the process completes the Wi-Fi will restart. You may need to reconnect to the SkyEcho Wi-Fi.
- Verify the firmware update has completed and the new version is listed on the SkyEcho 2 status page at 192.168.4.1 The Wi-Fi firmware should report 2.38